Add, Edit and Delete Schedule Entries
To add, edit or delete schedule entries for an employee, i.e., shifts, absences, workplace assignments, and notes, you must first select the period in which the entry is to be made.
The procedure differs depending on whether the period covers one or multiple days.
One Day Selection
For a single day, click in the corresponding schedule field.
This opens an information view that displays information about the selected day.
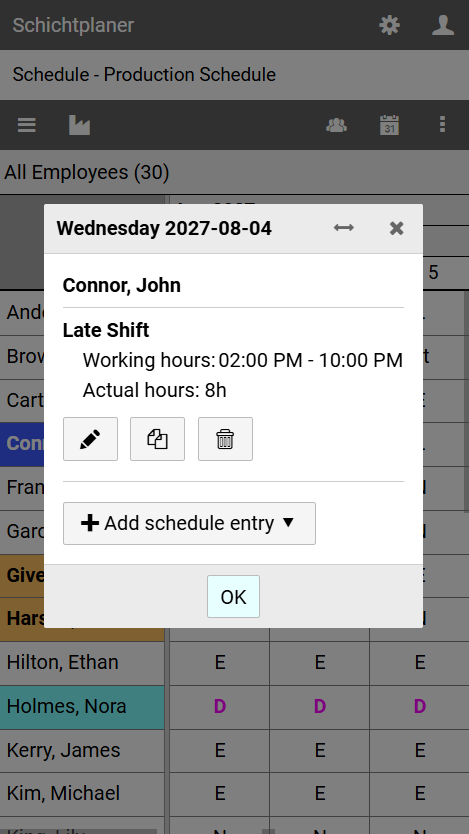
Any existing entries will be listed.
The buttons below an entry allow you to perform the following actions:
it adds a working time deviation for a shift, assigns a workplace or edits a custom shift or note
copies the entry to the clipboard so that it can be pasted later on a different day or time period
deletes the entry
To create a new entry press the button to open a menu.
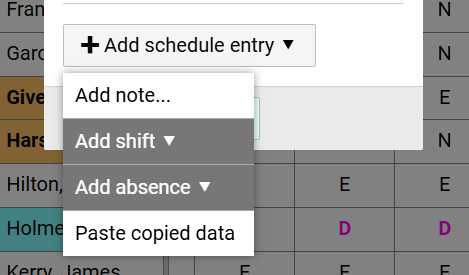
Select from the menu which data you want to add.
Multiple Days Selection
If the registration period is to cover several days, the selection of the period depends on the input device:
to use the mouse click on the first or last day of the period and drag the mouse pointer to the last or first day of the period while holding down the mouse button
on a touchscreen, first click on a day within the time period to open the information view.
Press in button in the header.
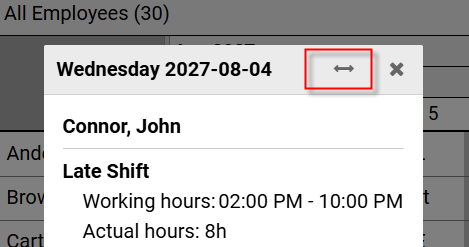
This closes the information view, and you can extend the selection date range in the schedule by clicking on the first or last day of the date range.
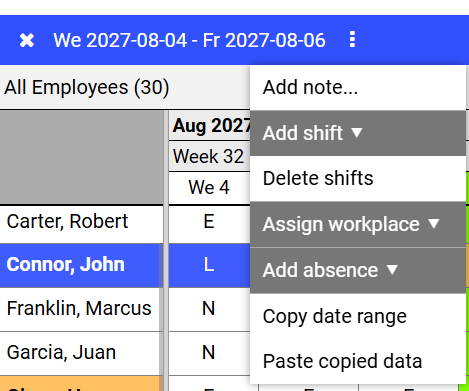
The selected time period is displayed in the command bar.
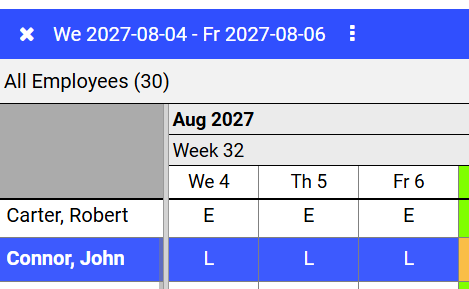
After you have set the date range, press the button on the command bar or click on a day within the selected date range.
A menu will open from which you can select the data you want to add to or delete from the schedule.
Notes
When entering and editing the following data, an input form for further details will be displayed: